The holiday season is upon us, and with it comes all of your favorite Christmas activities and traditions: holiday parties, Christmas caroling, and of course, holiday baking. There is really nothing better this time of year than a delicious Christmas cookie with cute icing and decorations, except for maybe a whole tray of them. Baking, decorating, and eating Christmas cookies is one of the best parts of the holidays, and it is the perfect activity for Christmas lovers of all ages. You can bake enough cookies for you and your family, or make some extra to pass around to your friends, family, neighbors, and coworkers. Don’t forget to make some to leave out for Santa!
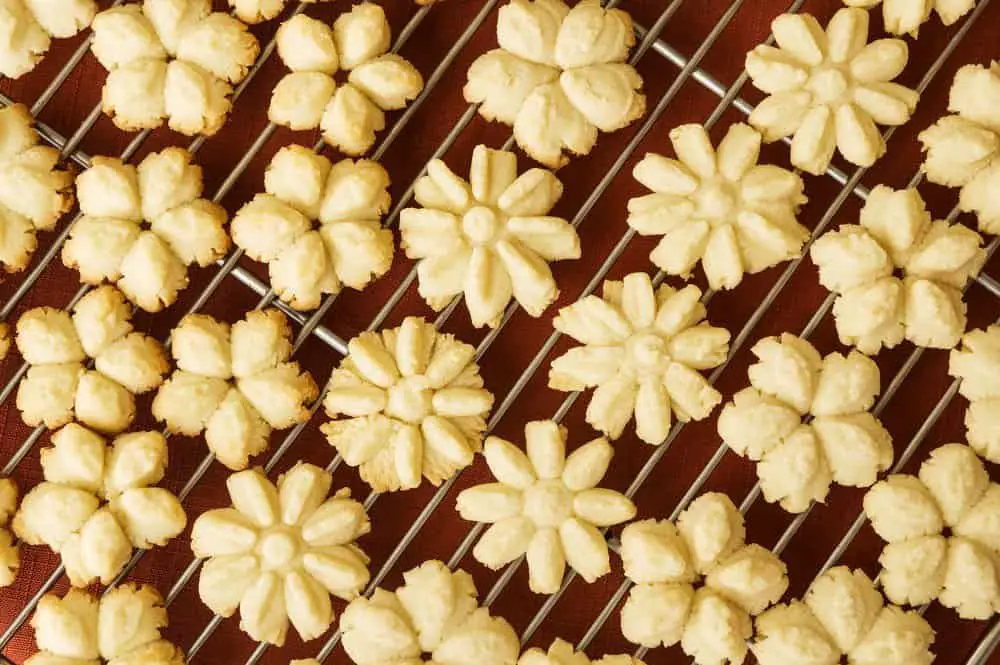
What cookie says Christmas more than Danish butter cookies? It seems like everyone’s grandma had a tin to store these cookies that was actually full of sewing supplies. But the homemade version is much better. These yummy sweets are easy to make and fun to decorate, making them the perfect holiday treat. Butter cookies are sturdier than shortbread cookies (so they won’t crumble and break as easily) but not quite as hardy as regular sugar cookies. They stay good for up to a week in an airtight container, so pick a Saturday right before Christmas and get everyone together for a family cookie baking evening!
Here’s what you’ll need to make your new favorite Christmas cookies:
- 2 and 1/4 cupCake flour or all purpose flour
- 3/4 cup Sugar
- 1 cup Unsalted butter, of course
- 1 Egg
- A pinch of salt
- 1 tsp Vanilla extract
- 1 tsp Almond extract
- Decorations: melted chocolate and Christmas sprinkles
- Piping bag and tip
You only need one large bowl to make the dough for butter cookies, which makes it easier. Start by softening the butter to room temperature, and then combining it with the sugar until it’s light and fluffy. You can use a stand mixer for this process if you have one — keep the electric mixer on low speed or medium speed for best results. Mix in the eggs, then the vanilla and almond extracts, and finally the flour until everything is combined, but make sure you don’t overmix everything. Sally from Sally’s Baking Addiction recommends adding a splash of milk (just one or two tablespoons, as needed) to thin out the dough and make it easier to pipe.
Once you’ve made your cookie dough, scoop it all into a piping bag and add the piping tip to the end (the Ateco tip is traditional, and the bigger the tip the easier it will be to pipe out the thick dough). If you want, you can line your cookie sheet with parchment paper, wax paper, or a silicone baking sheet. This will help prevent your cookies from sticking to the cookie sheet, and will make the cleanup process much easier. If you don’t want to use parchment paper or a silicone mat, make sure you are using an ungreased baking sheet. Now you are ready to pipe the cookies!
Spend a few minutes practicing piping out a few different shapes onto your cookie tray. You will want to make sure that your dough is the right consistency and make sure you feel confident before you start the real thing. Circles, S-shaped squiggles, and straight lines are the most popular shapes for easy Christmas butter cookies, but you can create any shape you want. Help your kids pipe out their favorite Christmas shapes for a festive touch.
If you don’t have piping tools or don’t have time to pipe the cookies, you can roll the dough into little balls with your hands and smash them into shape with a cookie press or the bottom of a drinking glass. They’ll still taste just as good, we promise.
When you have filled up your cookie sheet with cookie shapes, it is time to get ready to bake them. If the dough has held its shape, you can put them straight into a preheated oven. But if they are still a little runny, Sabrina from Dinner Then Dessert recommends putting them in the fridge for twenty minutes. This will help the butter harden again so that the cookies retain their shape before you bake them. Put the cookies in the oven for 10-12 minutes. You will know they are done when the edges start to turn brown.
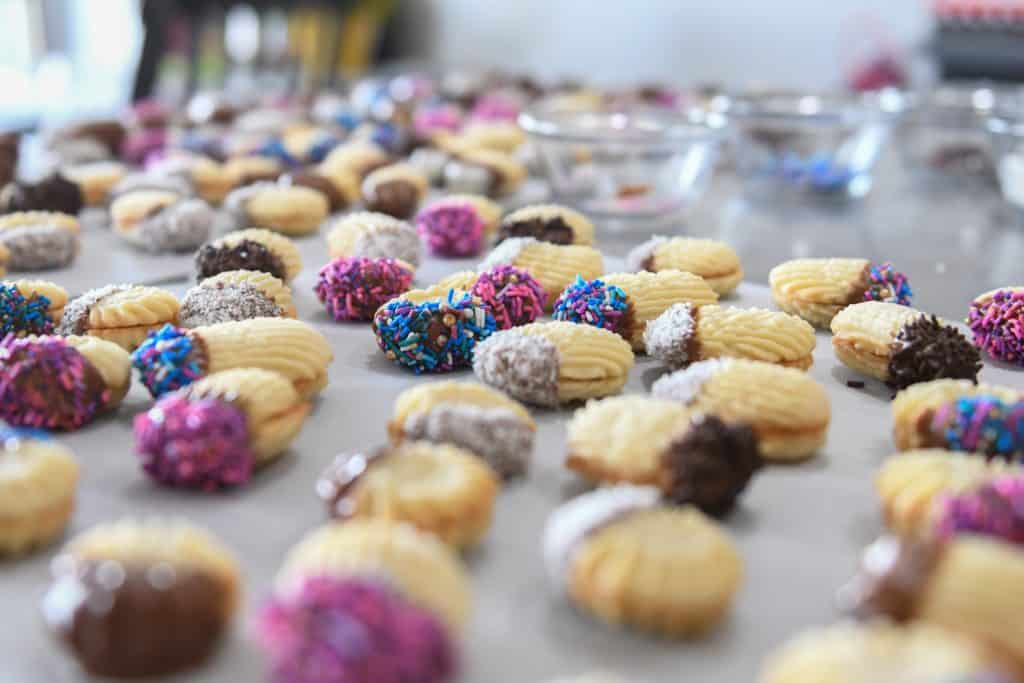
While the cookies bake and cool on a wire rack, gather all of your decorations and put them in separate bowls. It’s decoration time — and this is the part that your kids will look forward to the most! It is traditional to place a maraschino cherry in the middle of a circular cookie, or you can dip one side of each cookie into melted chocolate. For an extra festive look, dip them into white chocolate that you have dyed red and green with food coloring. Then dip the chocolate side of the cookie into holiday sprinkles. But really, you can decorate the cookies how ever you’d like. Once the chocolate has hardened, the cookies are ready to eat!
If you are feeling really fancy, or just channeling your inner Great British Baking Show contestant, you can make a chocolate ganache to decorate instead of just melted chocolate. All you need is is some heavy cream and a couple bars of baking chocolate, but don’t be deceived — it can be tricky to achieve that smooth, shiny finish that characterizes a good ganache! Jamie has some tips for making ganache to decorate Christmas butter cookies on her blog, Drive Me Hungry.
If you are not going to eat all of the cookies in one sitting, you can store them in an air-tight container for up to a week. They make a great holiday gift, especially when wrapped up in plastic wrap and ribbon. Write your favorite Christmas cookie recipes onto a cute recipe card and tie it to the cookie package to personalize your gift. This is a fun Christmas gift that you can have a lot of fun making for a lot of people, such as family members and neighbors or for participating in cookie exchanges.