Carrots are one of those vegetables you should always have at hand and not only because they feature in so many hearty home dishes. No, carrots also make great and easy snacks, are very healthy, can be used to create all sort of entrées and, best of all, are very, very cheap.
This goes double if you buy them in bulk, regardless if you’re buying organic or straight from the supermarket… of course, one of the downsides of bulk buying is food going bad if you don’t use it soon enough or store it incorrectly which is why we’ve created this small article to let you know exactly how to store carrots to keep them fresh and crispy for as long as possible.
Let’s get started.
To Keep Your Carrots Fresh You’ll Need
There are different ways to store your carrots and they all have some validity, which is why we’re going to cover three of them.
Here you’ll find a short list of the things you’ll need according to each of them:
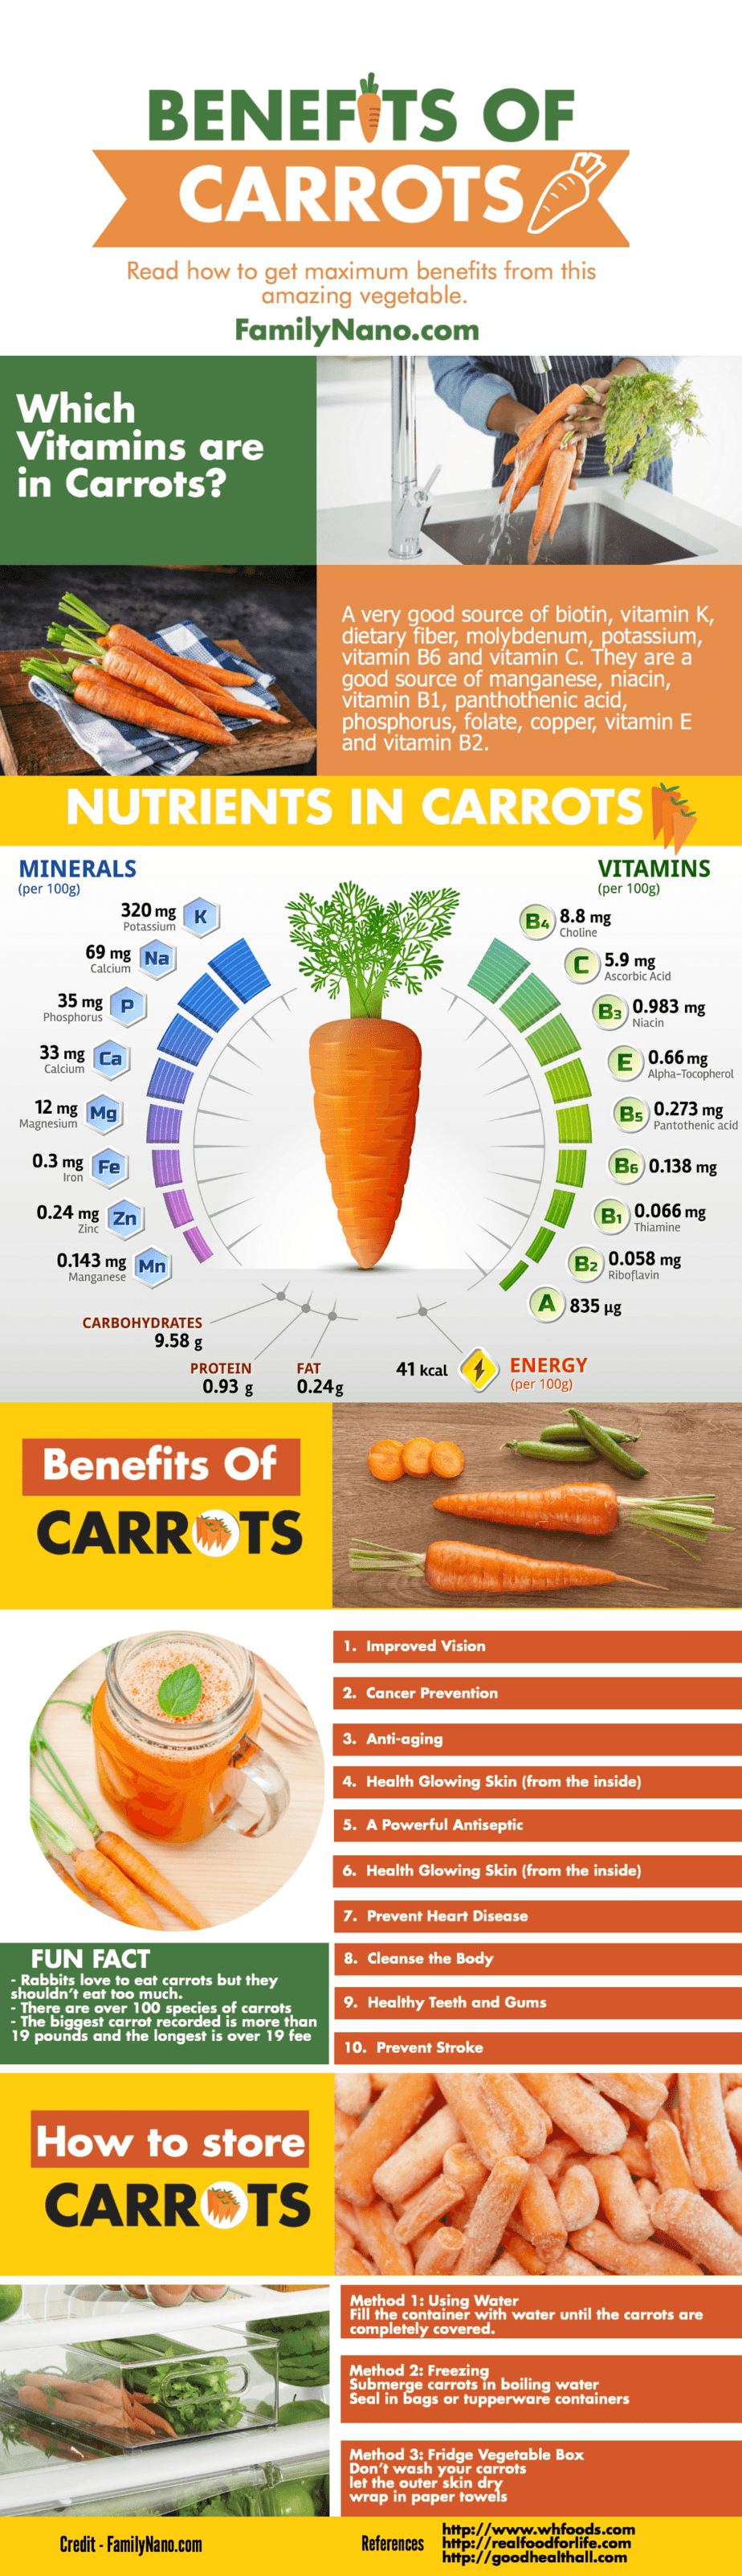
Method 1: Using Water
Method 2: Freezing
Method 3: Fridge Vegetable Box
If you’ve selected your method and you have everything you need, let’s get started!
Keeping Your Carrots Crisp and Fresh
These are the steps that need to be followed regardless of what storing method you selected:
Step 1: Wash Your Carrots
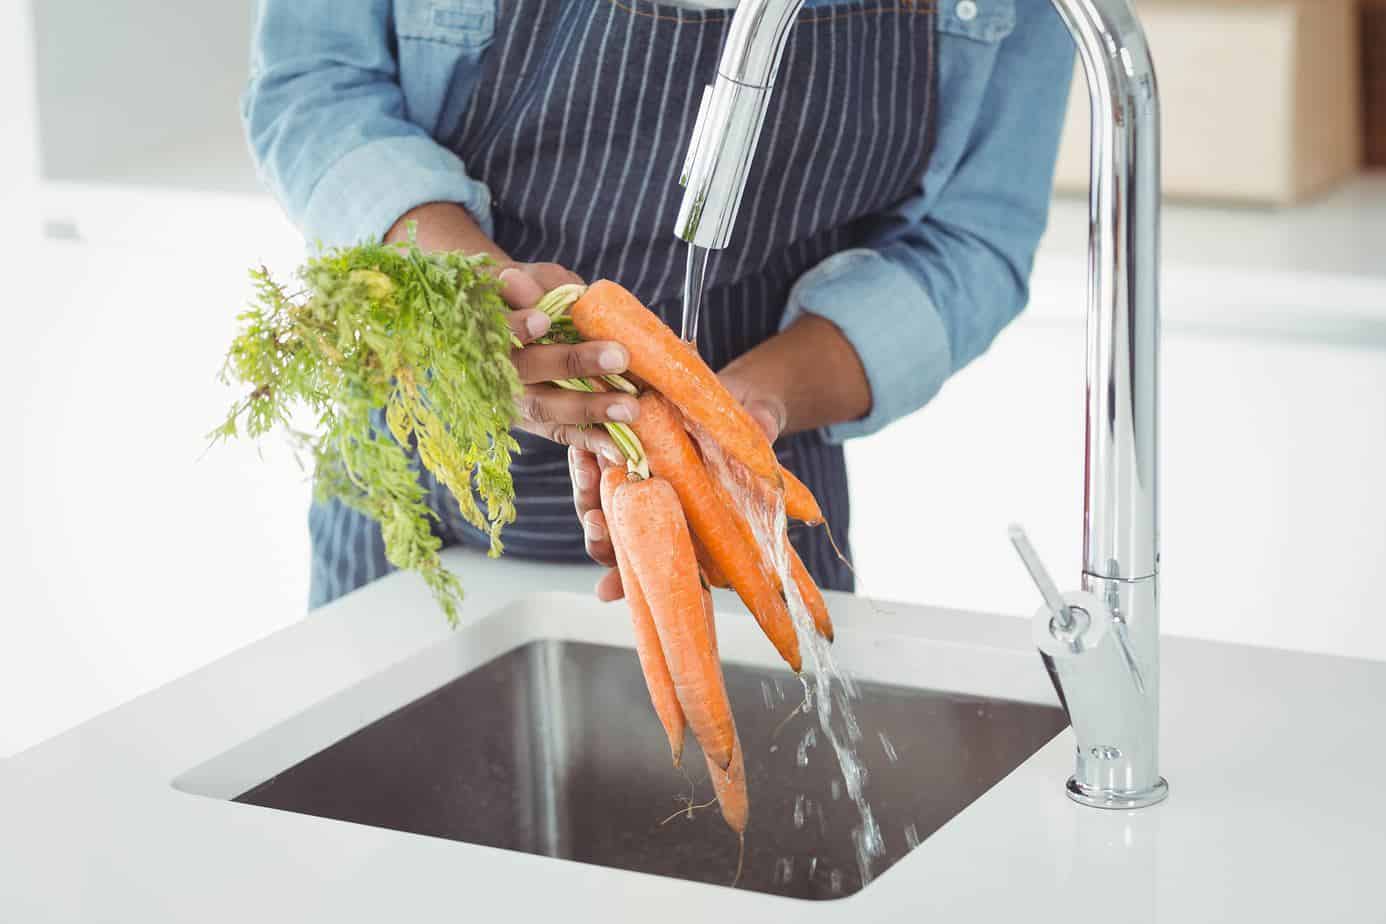
This goes double if you bought them at the farmer’s market. Wash them until you remove all dirt then pat them dry using paper towels.
If you need to, let them air out a little.
Step 2: Cut the Greens Off
Believe it or not, the leaves will continue to mature even if your carrots are just sitting there. This means they will draw moisture and nutrients from the root and it will make them go bad even faster.
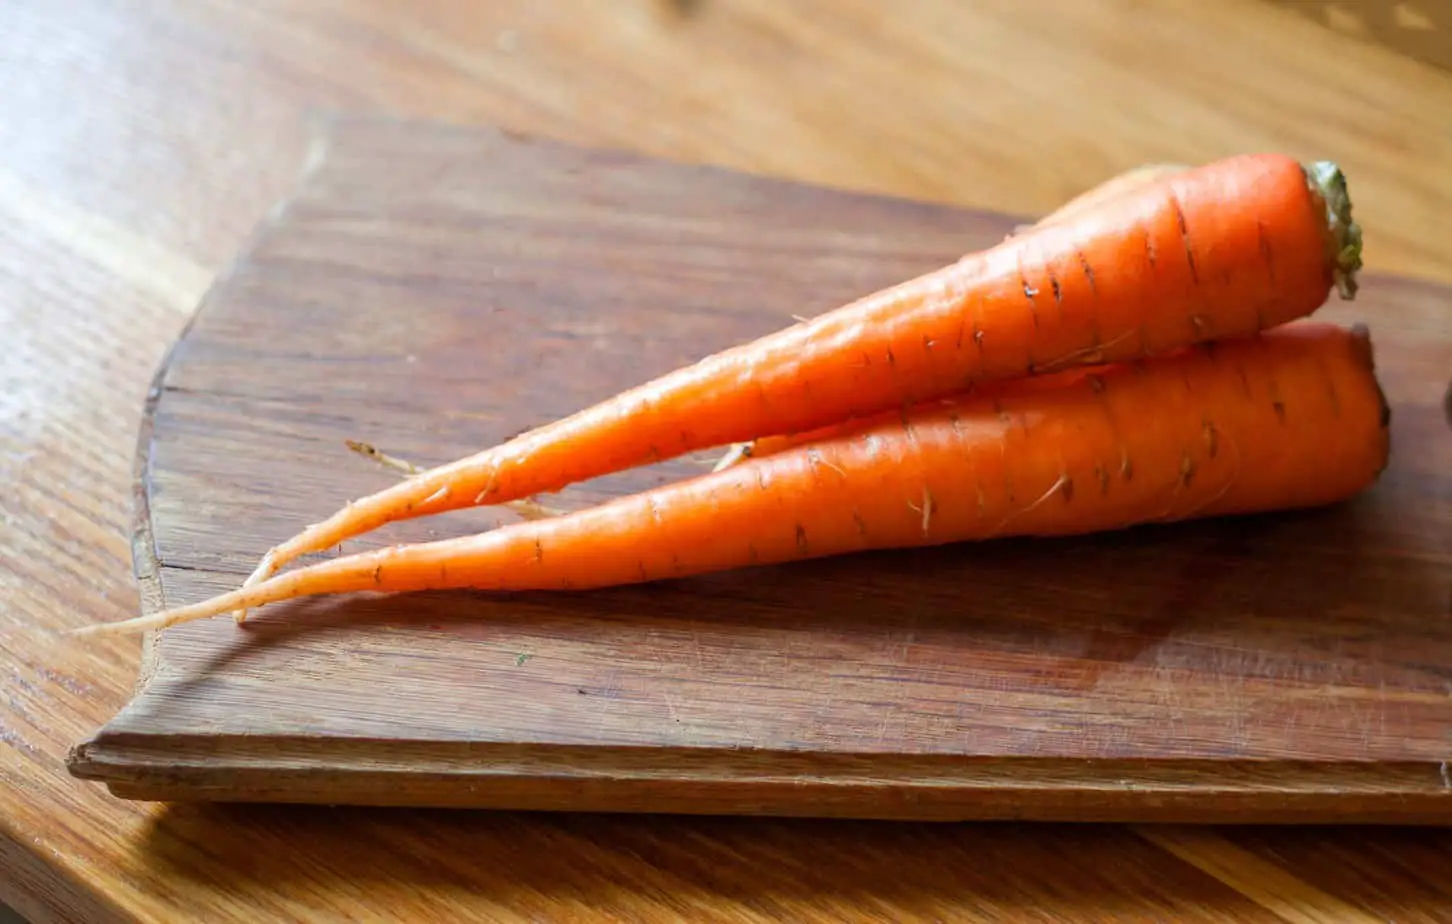
The first step is to remove the leaves by cutting as closely to the root as possible without cutting the root itself.
Method One – Using Water
This is, by far, the easiest method out of the three and it works for whole carrots and sliced carrots just as well.
Step 1: Whole or Sliced?
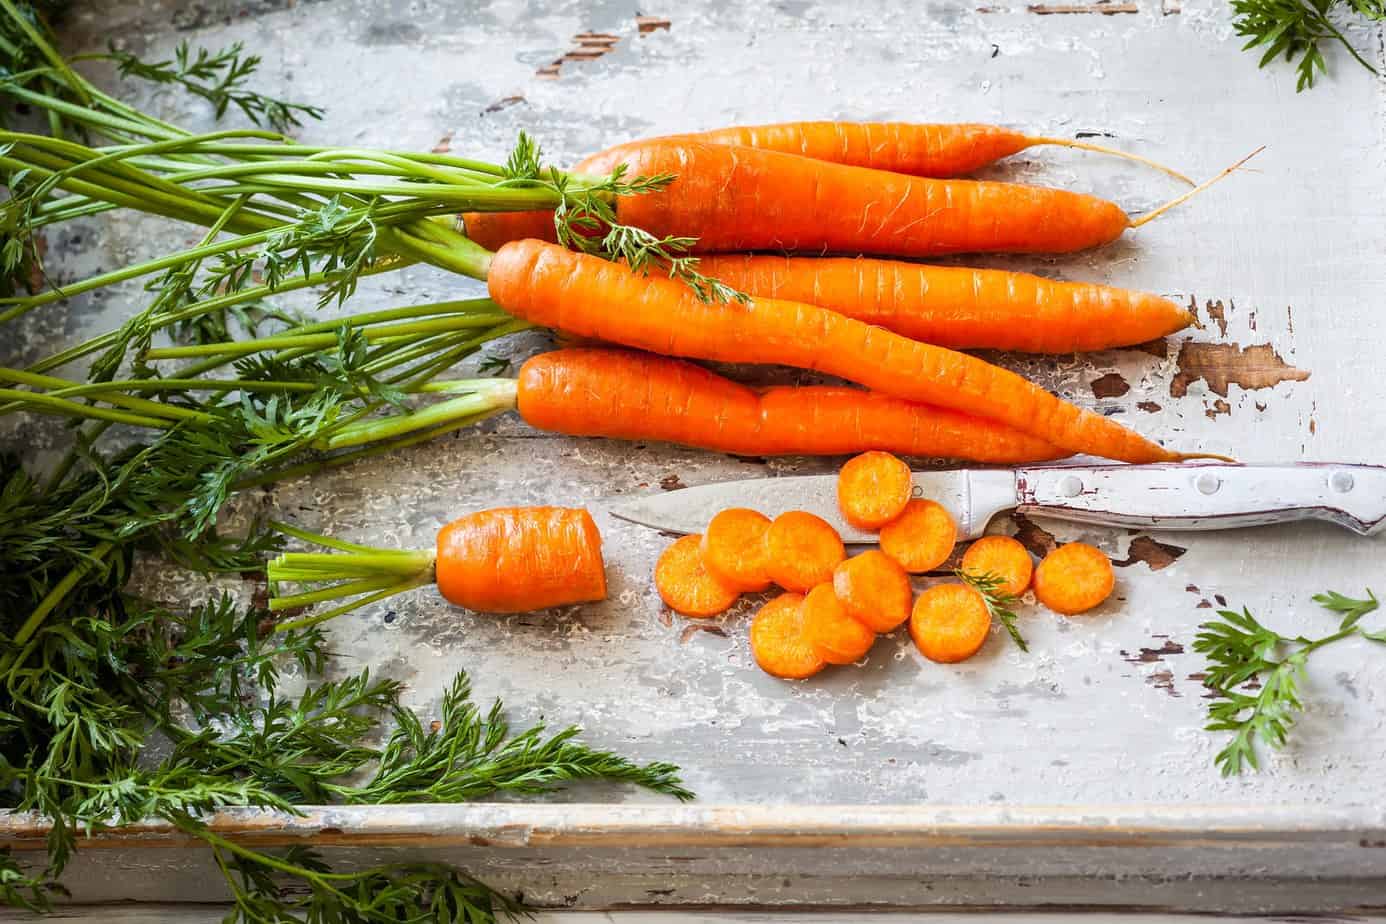
Decide whether you want to store your carrots whole or you want them to be sliced before storing. This will help you determine what kind of container you’ll use later on.
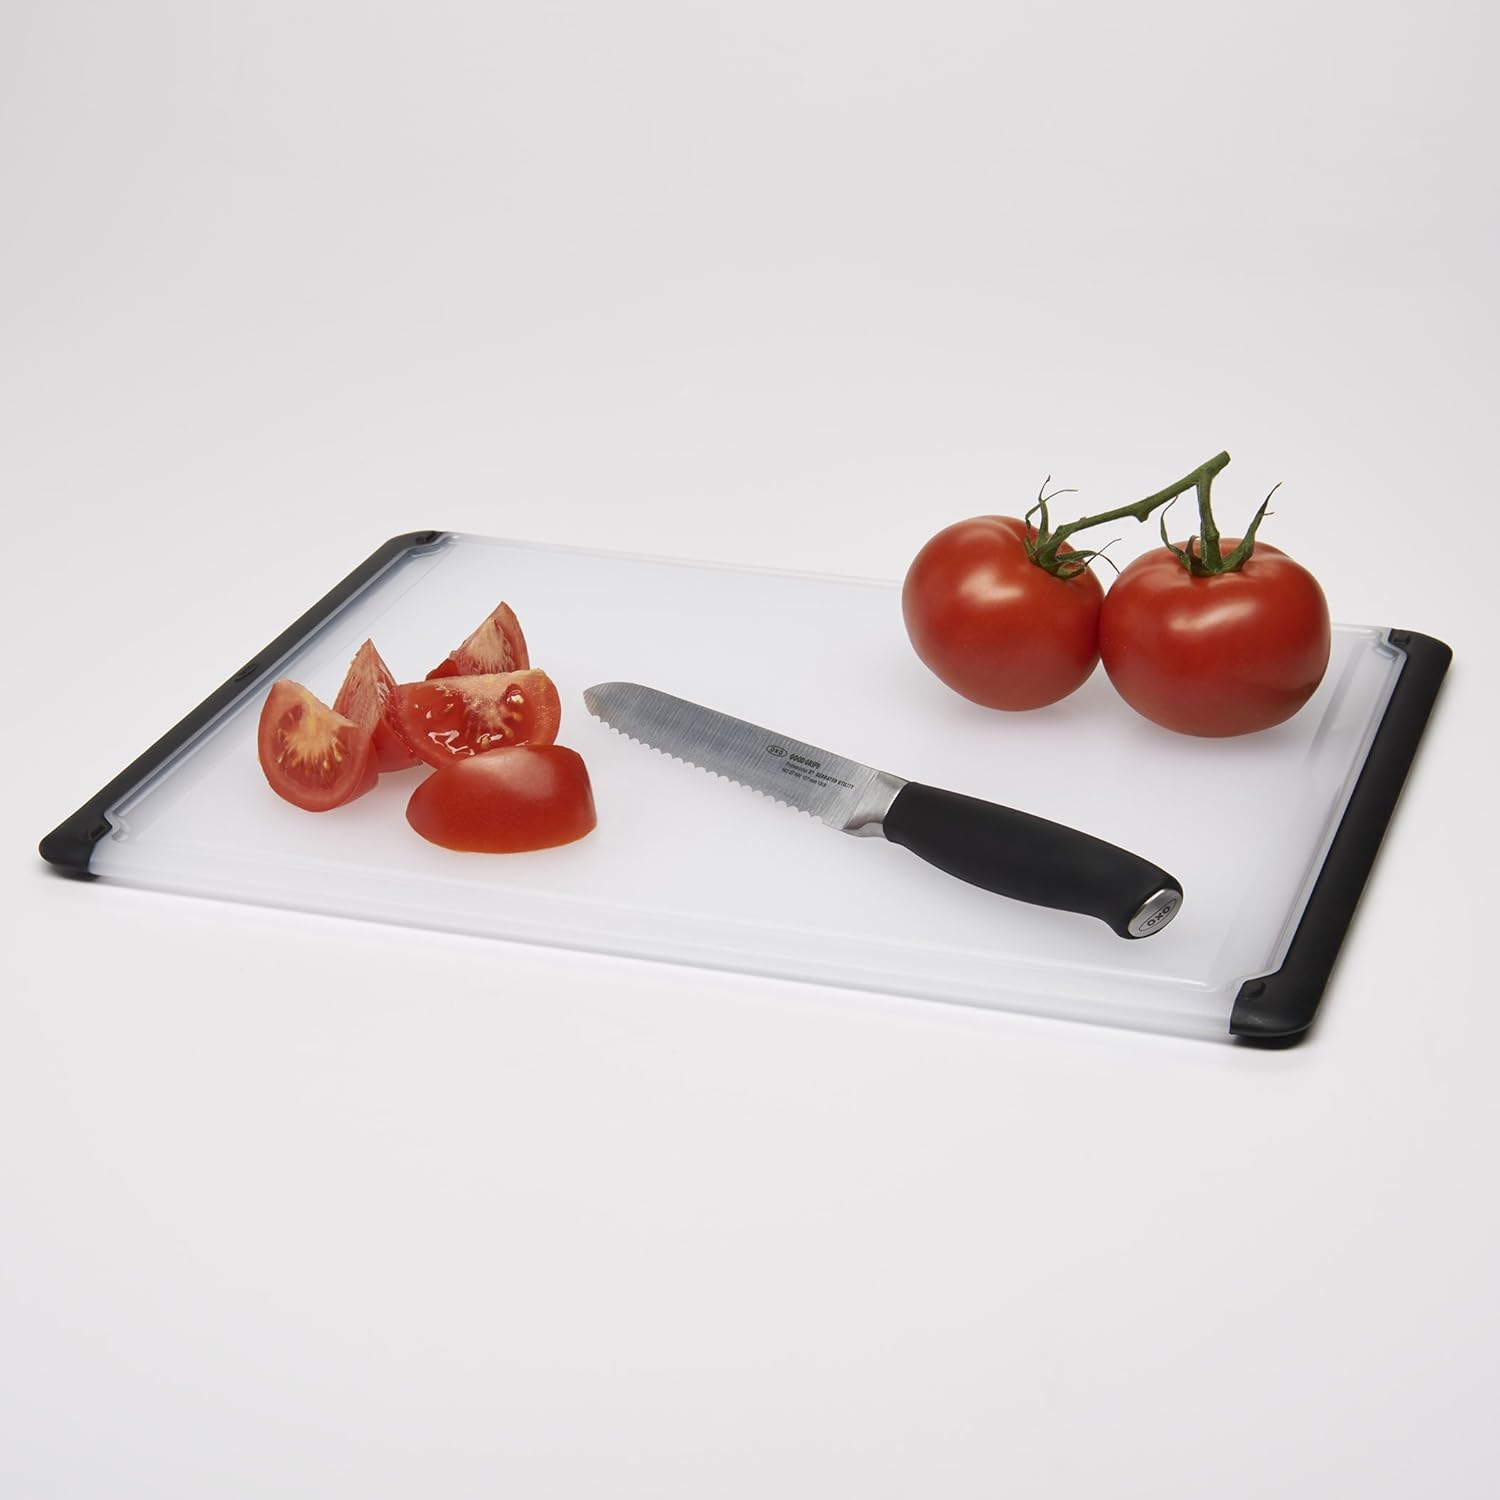
If you chose to slice them, go ahead and do it. Remember to use a cutting board to protect your counters.
Step 2: Arrange your Carrots
You want a container that can fit your carrots nicely without taking too much space. Arrange your carrots so you can store as many of them as possible in said container.
Step 3: Add Water
Once your carrots are in the container and you’re sure you won’t be adding any more, fill the container with water until the carrots are completely covered.
Waiting until all the carrots are in place before filling the container with water will help you avoid water displacement.
Once your container is full, close it with its lid.
Step 4: Keep an Eye on Them
This method will keep your carrots fresh for weeks on end but you need to pay attention to them anyway. If for any reason one of the carrots starts going bad you should remove it from the bunch and use it immediately.
Likewise, if the water starts getting cloudy just toss it away and replace it with fresh water.
Method 2: Freezing
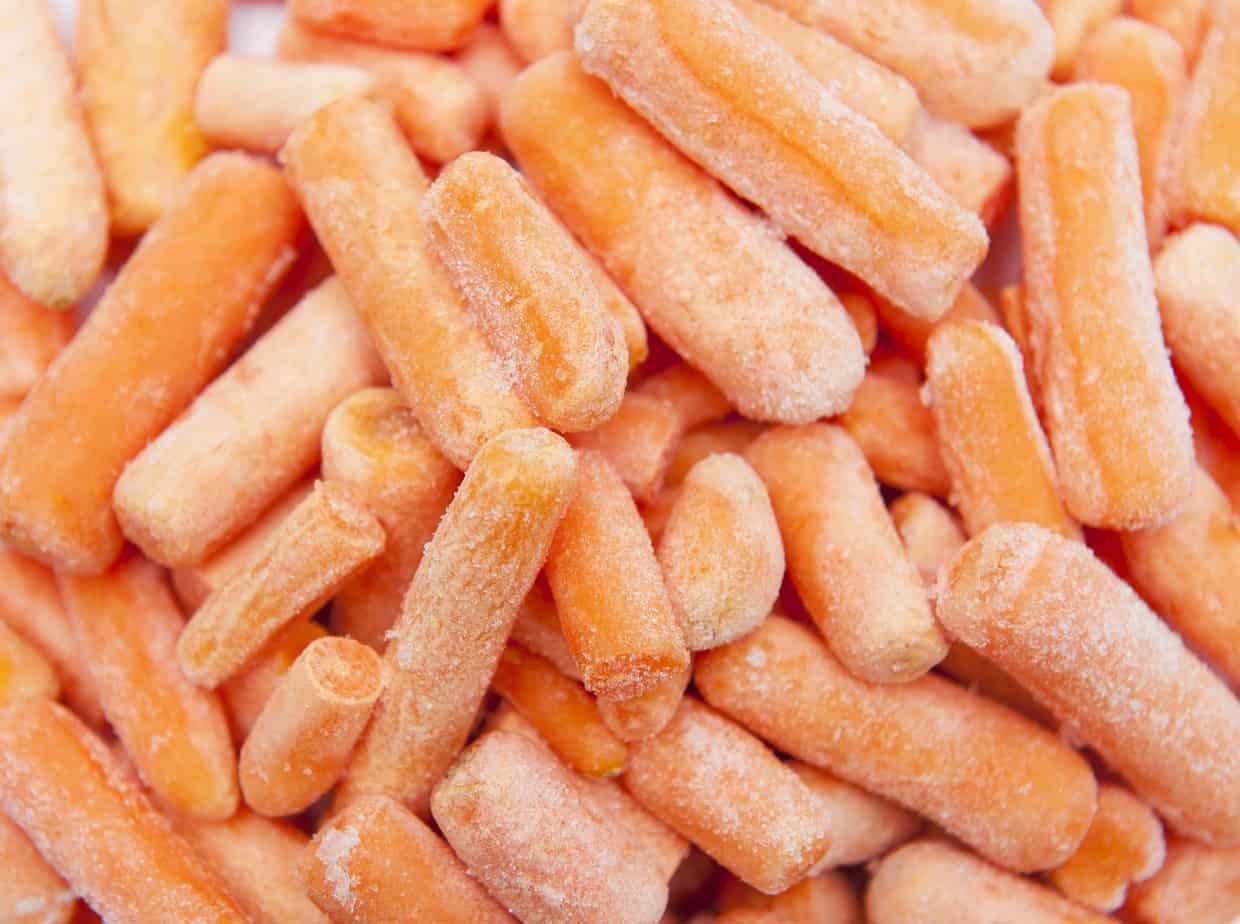
If you’ve ever frozen any vegetables then you know they need to be blanched before doing anything with them and carrots are no different.
Blanching your carrots will give them a different texture and even color when you thaw and use them but it will keep them from spoiling for months!
If you plan on using your carrots for stews, soups and creams this is probably the best way of doing it because the changed texture and color won’t be so obvious.
Step 1: Measure the Water
You’ll be working with boiling hot water which is why it’s important to know exactly how much water you’ll use to avoid any accidents. To do this, place your carrots in a pot and fill it with water. Leave enough space for the water to bubble and jump.
Remove carrots once you’re done.
Step 2: Boil Water
Boil your water until it’s bubbling vigorously. You want to have it as hot as possible so it doesn’t get much colder once you place your carrots inside.
Step 3: Submerge Carrots in Boiling Water
Use a strainer or a basket for this step.
Once the water is boiling lower your carrots in it then cover your pot with its respective lid.
The time of blanching depends entirely on the size of your carrots:
– Diced, sliced or baby carrots should take around 2 minutes or so.
Step 4: Seal in Bags or Tupperware Containers
Once the carrots are cool simply arrange them in freezer safe Tupperware containers or freezing bags. A good tip is to split them by portion when doing this as this way they won’t freeze in a big chunk.
Carrots stored this way will last for up to 9 months in a Tupperware container or regular Ziploc bag. Freezer vacuum sealed bags can last for up to 12 months.
Carrots might last even longer but the taste just won’t be the same.
Method 3: Fridge Vegetable Box
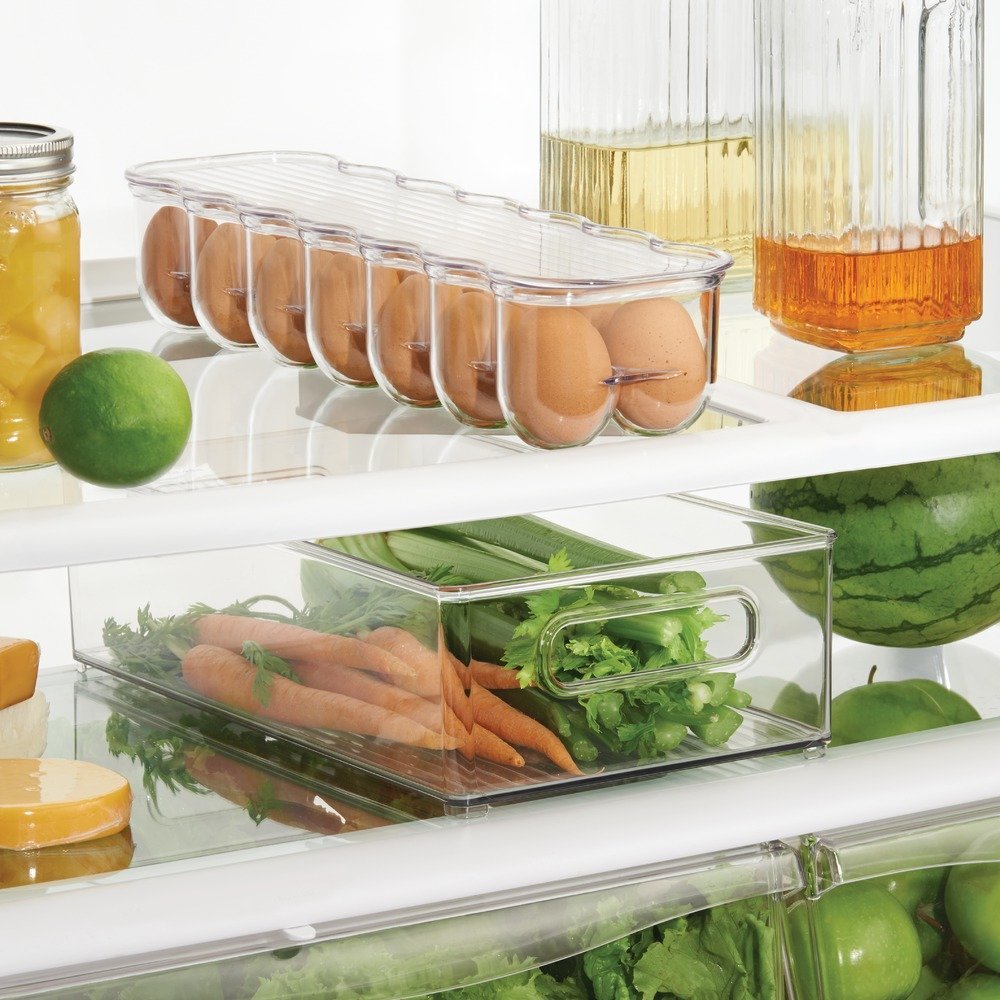
If you don’t want to do any of that and you just want to store your carrots in the fridge right away you can do it, just keep in mind doing this might not keep your carrots fresh and crisp for as long.
Carrots stored this way might even wrinkle a little but the taste should remain unchanged.
Step 1: Don’t Wash Your Carrots!
This step won’t tell you what you need to do. Instead, we’re telling you what you don’t need to do.
Don’t wash your carrots, even if they have dirt on them. You should only wash them when you’re about to use them.
Step 2: Let the Outer Skin Dry
While it might seem counterproductive you need the outer skin of your carrot to dry. You can do this by leaving your carrots to sit outside the fridge overnight, though if you live in a particularly humid area you might want to store them in a pantry, in a bread box or somewhere to keep them away from the humidity.
Step 3: Wrap in Paper Towels
Now you need to wrap your carrots in paper towels, a lot of them.
Some people will even go as far as to line the bottom drawers with a thick layer of paper towel to keep the moisture there and keep the carrots as fresh as possible.
To each their own, but you should always include paper towels in order to keep your carrots fresh.
Step 4: Keep an Eye on your Carrots
As with the water method, you should keep an eye on your carrots. Remove the ones that are going bad and use them immediately so the ones left don’t have the chance to mature.
If the paper towels are falling apart due to the moisture you should also replace them.
Carrots stored with this method might wrinkle and look less pleasing than the rest but they can last for weeks in your fridge without losing any flavor or nutritious properties.
Conclusion
[socialpug_tweet tweet=”And THAT’s how you store carrots” style=”5″]- Did you enjoy this article? Did you find it useful? Do you store your carrots differently? Let us know in the comments!
- Don’t forget to like and share if you liked this tutorial.
- Thank you for reading!