Smoothies are a great addition to any diet, whether for meal replacement, post-workout replenishment, or a snack between meals. They are packed with fruit, vegetables, and other nutrients and can be made in less than five minutes with minimal equipment.
Once you learn the basics, the combinations and possibilities are limited only by your imagination. And, smoothies can be customized to your taste and nutritional goals. Want more protein in your diet? Or maybe some more leafy greens? Smoothies make all of those things possible.
You’ll need the following to get started
- The best blender
- Fruit (fresh or frozen)
- Water or other liquid (most commonly milk or juice)
- Ice
- Leafy greens (optional)
- Yogurt and/or nut butter (optional)
Any type of upright blender will do, but products like Vitamix and Ninja are great options for serious smoothie makers. Immersion blenders are not really suited for smoothies; best to leave them for soups and other uses.
If you using fresh fruit in your smoothie, be sure to add ice to ensure your drink will have the proper temperature and consistency. Ice is not needed if using frozen fruit.
Some type of liquid is also critical to blend your smoothie ingredients. Water will work just fine, but juice and non-dairy milk (almond, soy, cashew, etc.) are also great options.
Beyond that, anything else you want to add is optional. Be creative and don’t be afraid to change things up each time.
Follow these easy steps and you’ll be on your way to making you first smoothie in no time:
1. Decide what you want in your smoothie
Bananas, berries, and peaches are most commonly used in smoothies, but just about any type of fruit will work. A smoothie can be a great way to use up fruit before it goes bad.
However, be mindful of things like seeds, cores, and stems. Remember this rule of thumb: if you wouldn’t want to eat it on its own, it shouldn’t go into your smoothie.
As far as liquids go, fruit juice will add sweetness while milk will make for a creamier smoothie. You may choose a fruit juice that compliments the fruit you are using, or something that will provide a contrast — orange juice and strawberries, for example.
We could write a whole other post on the benefits of and difference between the types of dairy and non-dairy milk . If you don’t already have a go-to, do some research and determine which one will be the best fit for your tastes and nutritional goals.
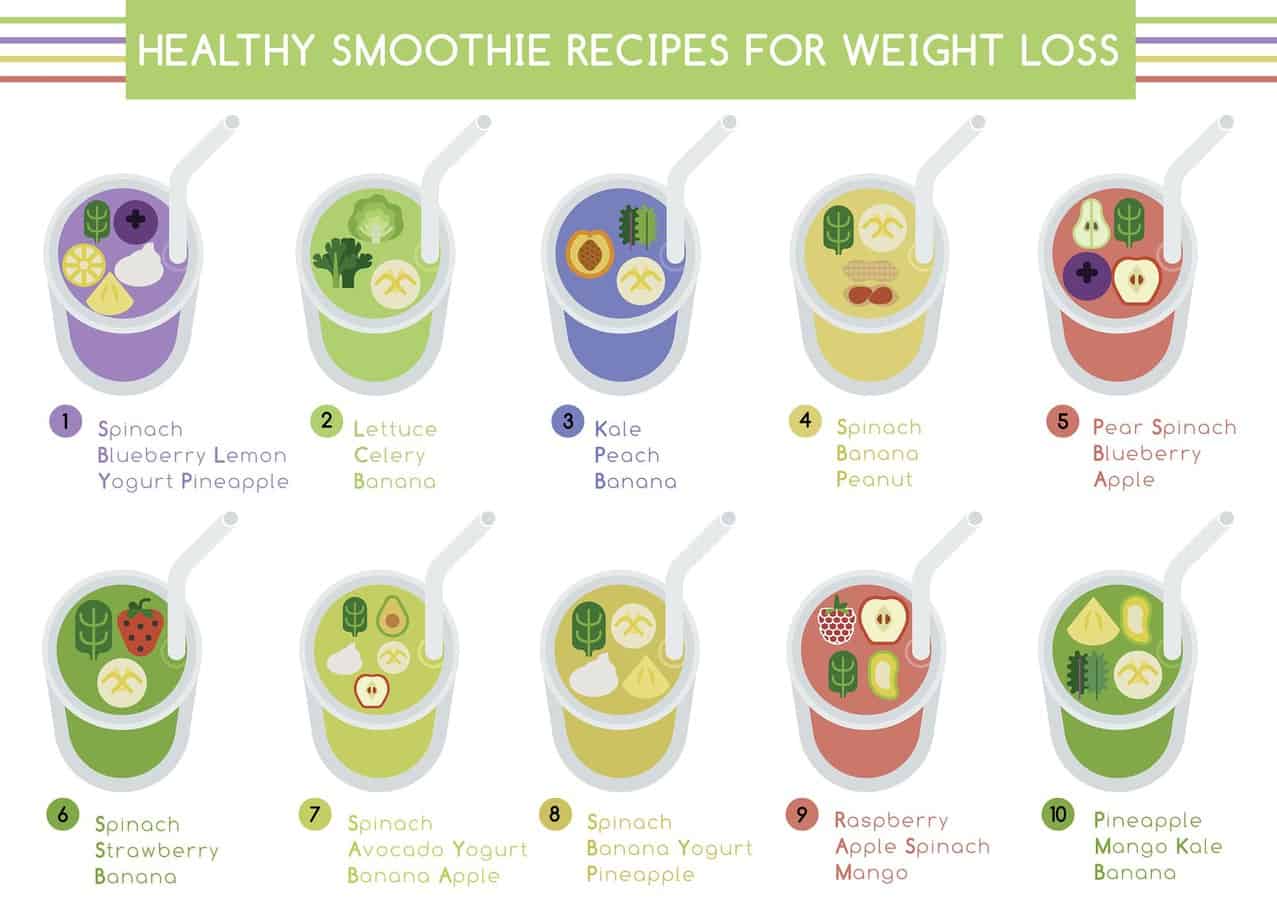
Once you’ve got the basics covered, it’s time to think outside the box. Add in yogurt and kale, spinach, or other leafy greens to boost nutrients and keep you feeling full longer.
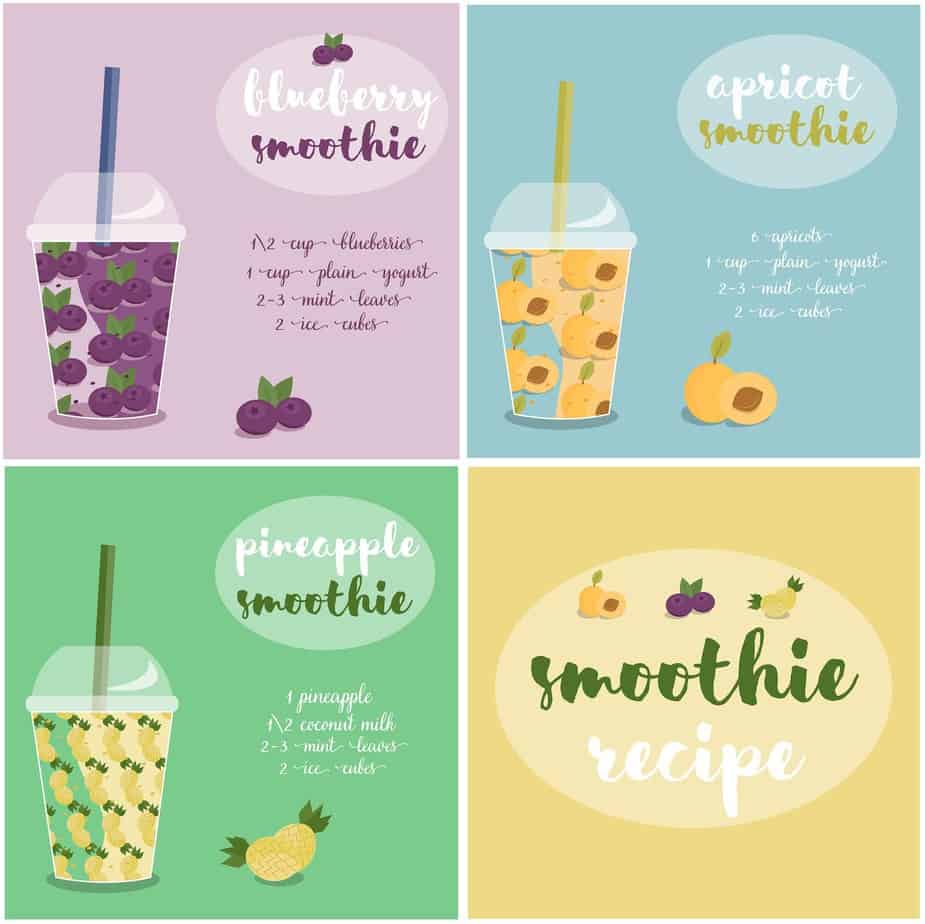
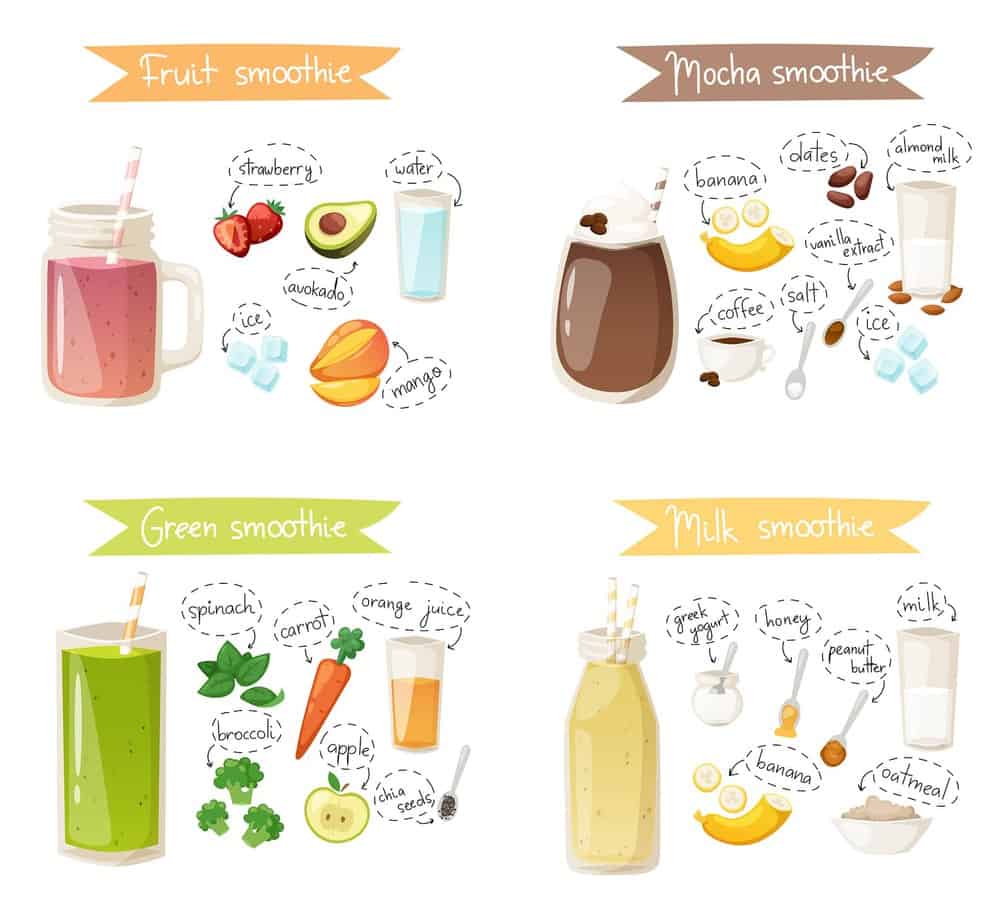
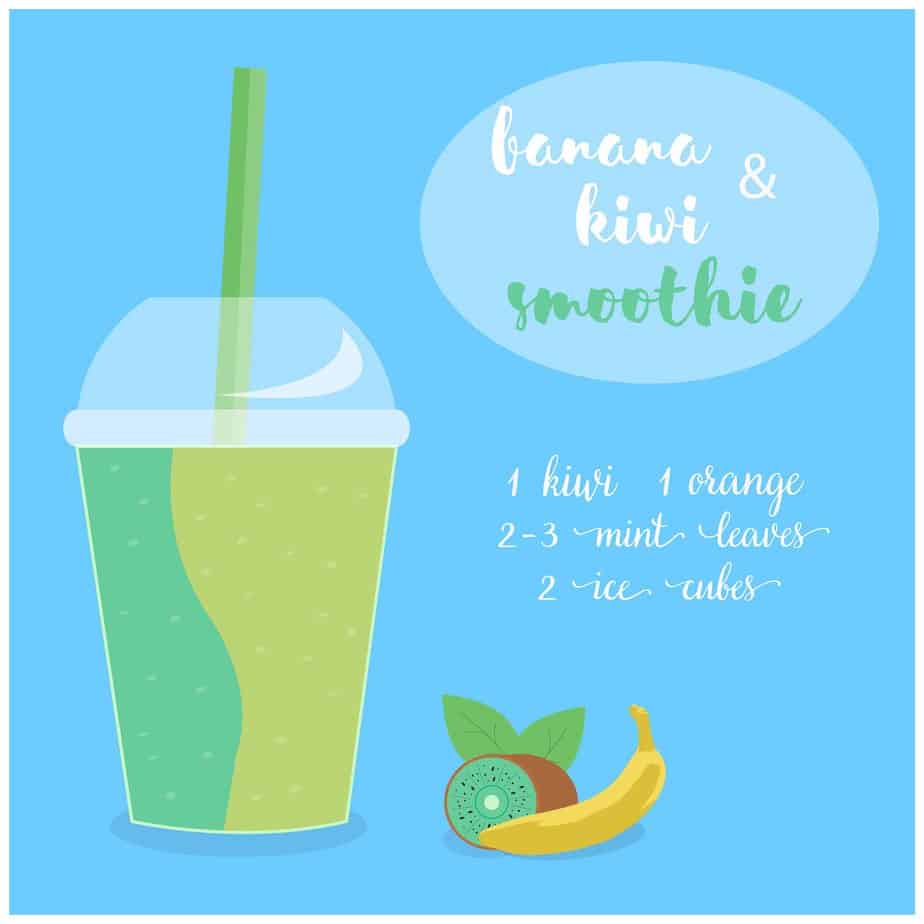
Not sure where to start? Check out these recipes that cover the basics and beyond. And remember, if you don’t like one combination you can always change up with your next smoothie.
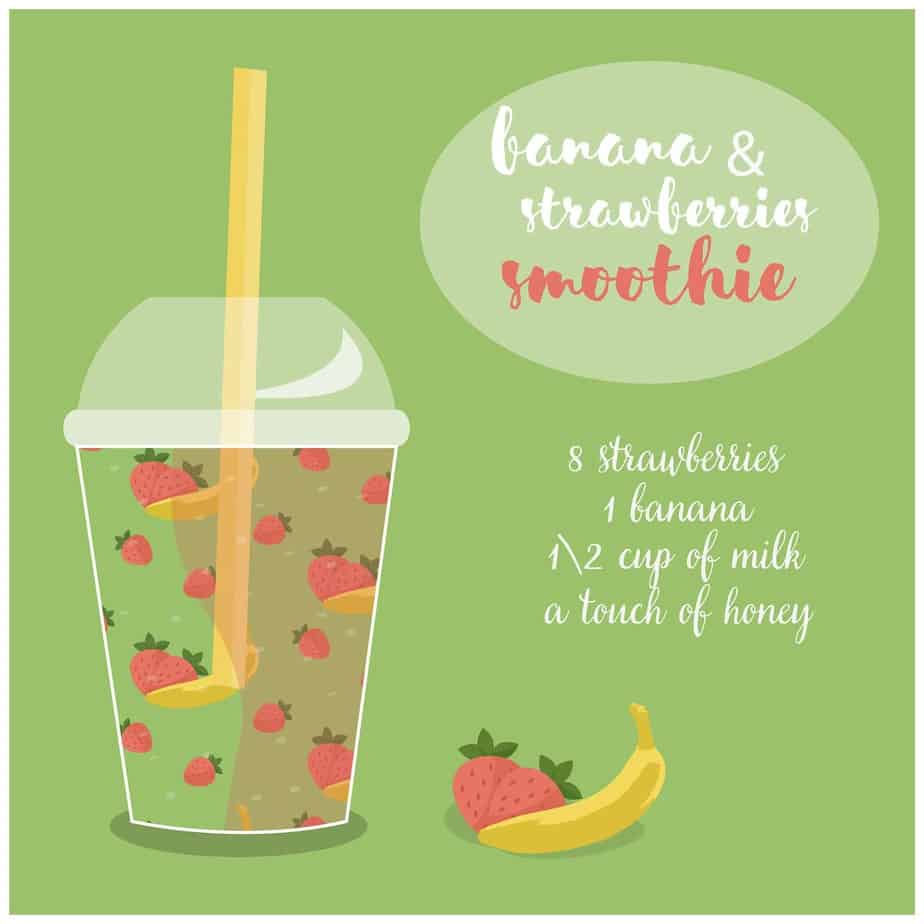
2. Prepare and assemble ingredients
Everything goes into your smoothie at once, so it’s important to make sure everything is ready before adding ingredients to your blender.
Larger pieces of fruit will need to be cut into smaller pieces, around 1 inch or so. Everything else should be able to be added as-is.
3. Add ingredients to blender
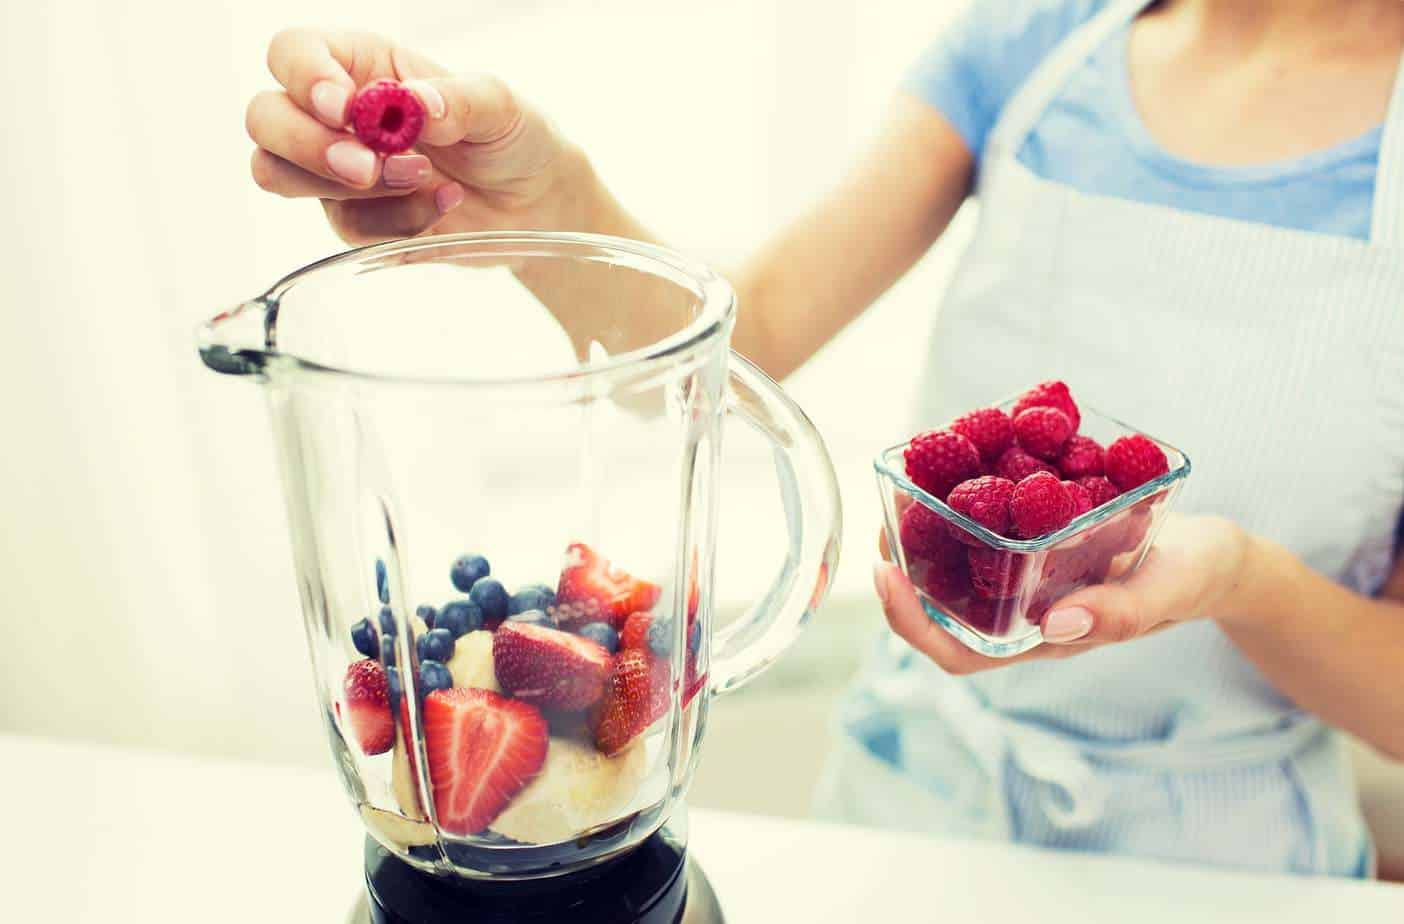
Start with liquids, then add frozen fruit or ice, then anything else you would like to add. It’s important to follow this order to ensure that everything combines properly once the blender turns on.
Be careful not to overfill the blender. Aim for about 3/4 cup of liquid and 1 cup of fruit to start, along with 3-4 ice cubes if not using frozen fruit.
Greens and other items should be added after fruit, liquid, and ice. If you want your smoothie to have a sweet flavor, make sure that the amount of veggies does not exceed the amount of fruit.
As you become more comfortable making smoothies, you may find that you can add more to your blender or change solid to liquid ratio based on your preference and blender capacity.
4. Blend until smooth
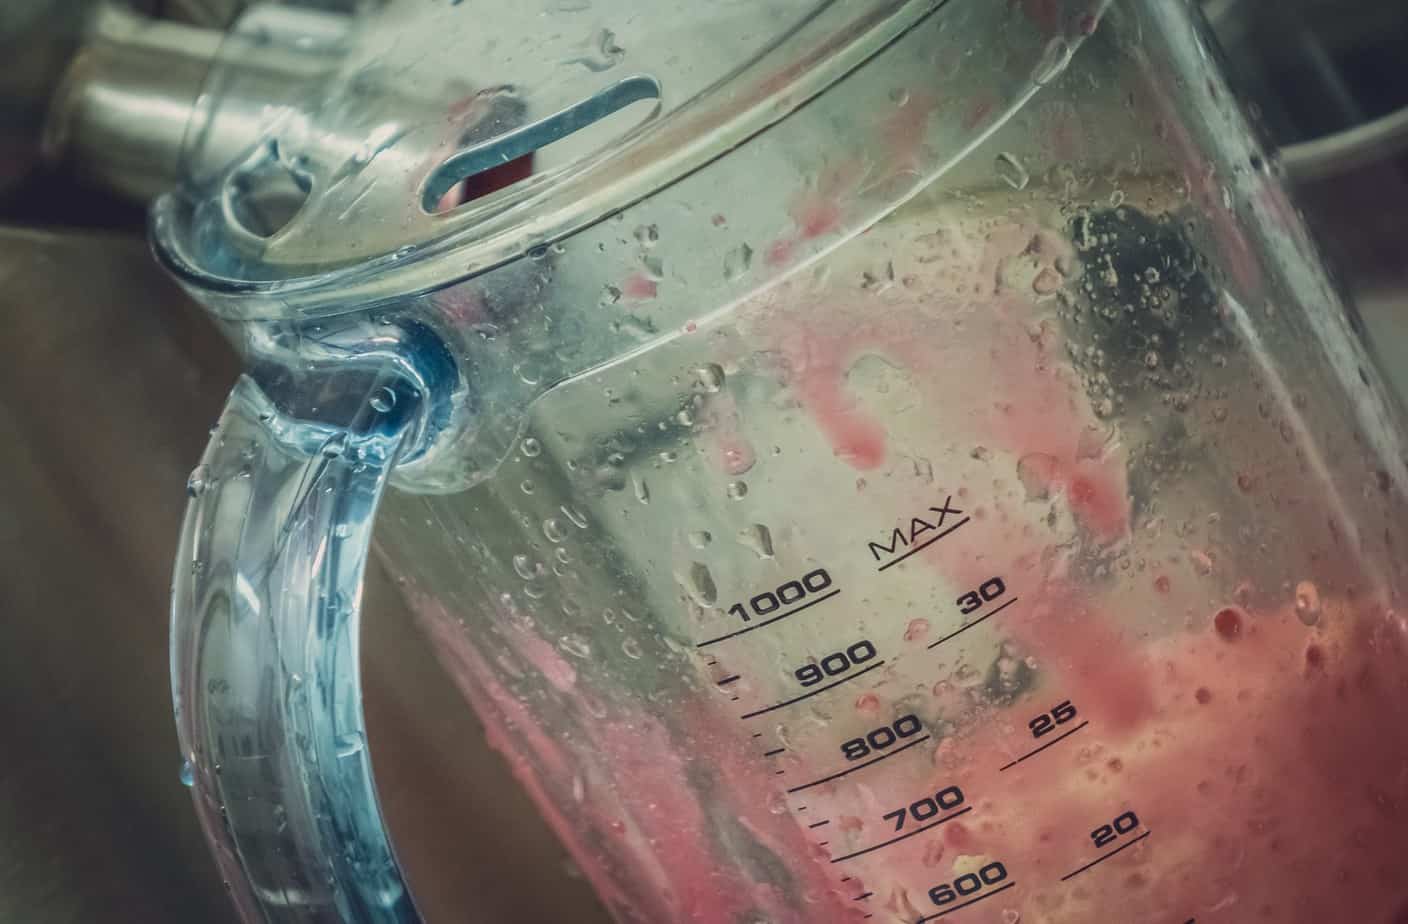
A good rule of thumb is to start by blending the smoothie for about one minute on medium speed. Your blender may even have a smoothie setting of its own. Make sure that the blender’s lid is on securely — otherwise you may end up wearing your smoothie instead of drinking it.
Your eyes are going to be the best judge here. If the consistency doesn’t look right to you after one minute, continue blending until it’s to your liking. If you are planning to drink your smoothie through a straw, the consistency will need to be thinner than if you are not using a straw.
5. Pour and enjoy!
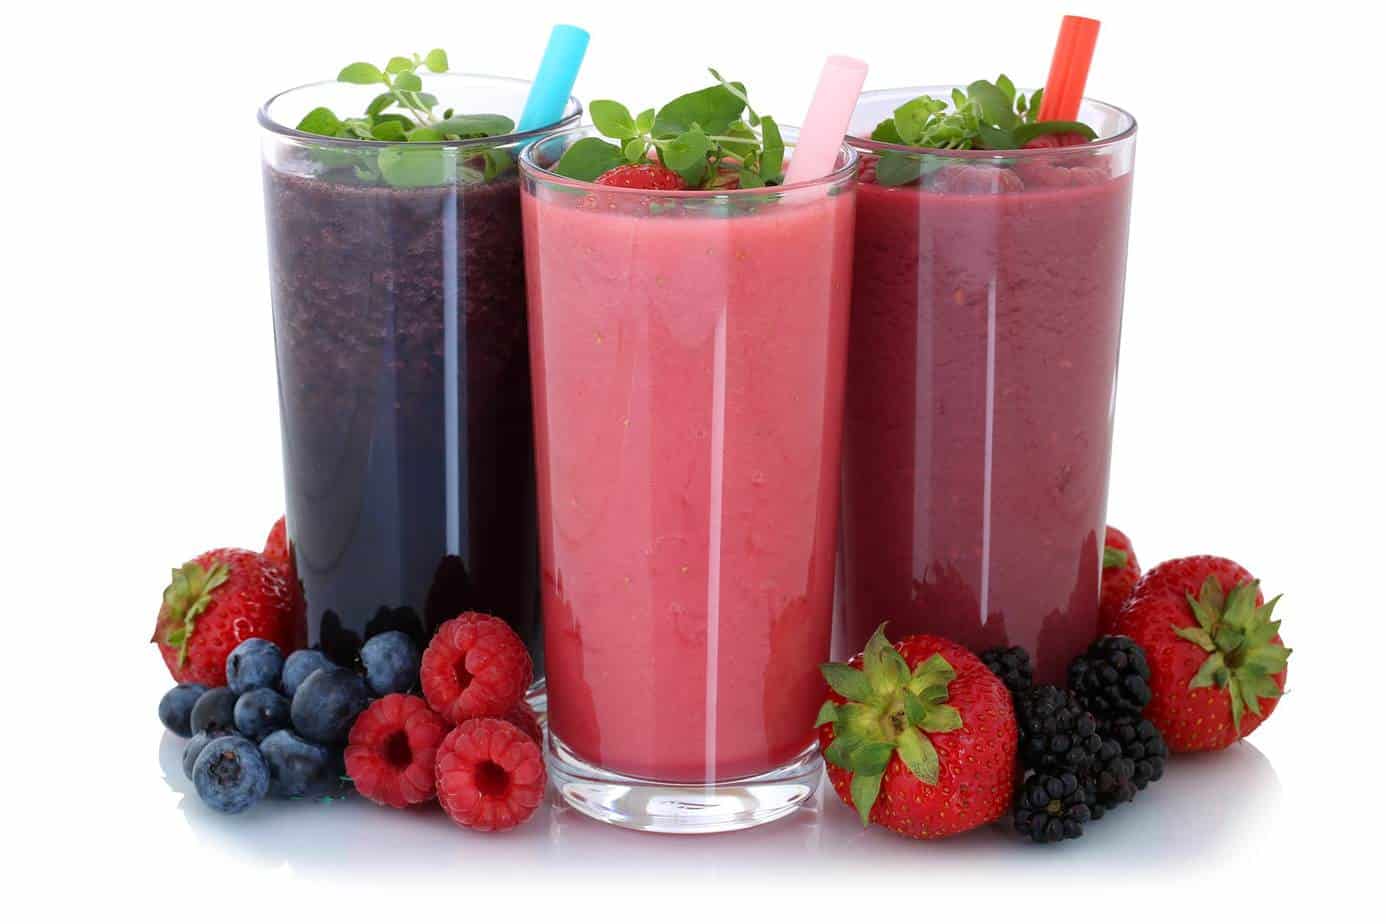
Smoothies are best when enjoyed immediately after blending, but they can be poured into containers to enjoy on the go, or stored in the refrigerator for up to a day after blending.
If you know that you will be taking your smoothie on the road, look for a container with a tight-fitting lid and be prepared to shake before drinking, as some ingredients may start to separate while the smoothie sits.
If you are in the mood for a garnish, try a slice of fruit, a sprig of fresh mint, or even a cocktail umbrella.
6. Start planning your next smoothie
Once you’ve mastered the basics, consider optimizing your smoothie to meet your nutritional goals.
Adding protein powder or other supplements is a great add-on to the nutrients already in fruits and vegetables. Greek yogurt is another great source of protein and can help give your smoothie a thicker consistency.
So, there you have it — a delicious smoothie in just a few easy steps. Once you drink your first smoothie, you’ll wonder why it took you so long to make one in the first place.
The health benefits of smoothies are undeniable, from vitamins and minerals to increased hydration, all blended together in a tasty final product. The flavor combinations are only limited by your imagination.
What’s your favorite smoothie? Are there ingredients that work better together than others? Let us know in the comments section. Happy blending!
